Old Floor and Tools
This project started as an exploration to create a cracks generator. I wanted to create a one click filter for a long time, a little filter that do the heavy lifting and relieve me from redoing my setup everytime. In the process I discovered several recipes that I turned into tools like some erosion or triming technique.
To showcase it better I pushed the little floor you can see here at the top. While I was at it I also encapsulate few repetitive steps like atlases, chiseling and what I call flowing slopes (sculpt by stratifications).
_____
All of those tools and recipes are not really complex but all in all really help me to speed up my process and focus on structure and layering.
If anyone is interested I will try to clean those, make some documentation/examples and share its. Let me know what you think of it, cheers !
________
You can buy the Crack Tool I use here,
https://www.artstation.com/a/26072921

This floor is a test material I did to benchmark my different tools. It's inspired by a destroy italian basilica floor I love.


To adjust the intensity of my tools and expose everything I needed I did few structure variations. It allowed me to apply my filters on different type/size of shapes.


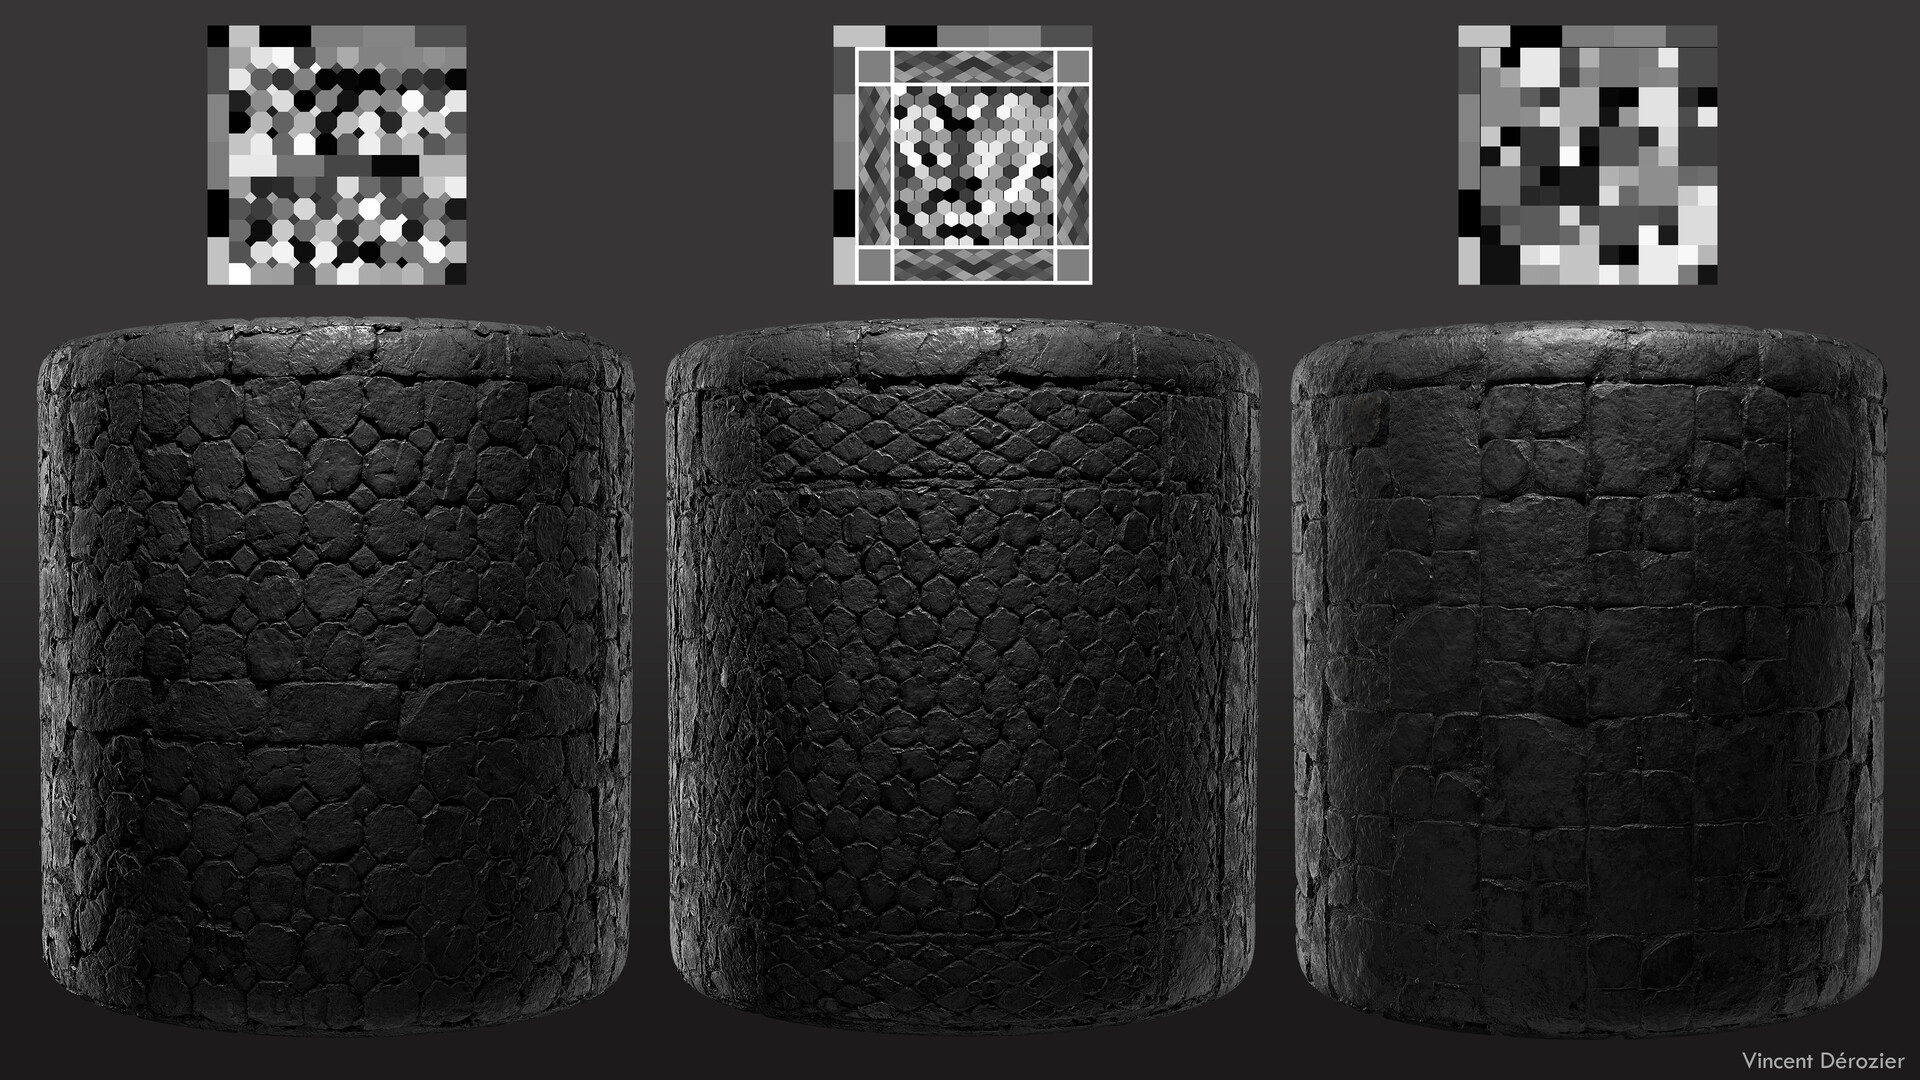

The textures composing the first floor of this post. The other ones are really similar as they reuse the same recipe. I always find layering more fun and realistic when it comes to texturing instead of creating my base color etc in every graph.

I was really happy how the Stone Cracks turns out. It entirely flesh out the big and medium shapes, edge scultping include. It give more room to focus on detailing and layering afterward.

My Stone Cracks can work on its own or with a custom cell. You can add a structure input on top of the cracks to sculpt the edges of a floor the same way as the cracks. You can also disable the cracks, using it as a sculpt filter ^^ .

Edge sculpting node to support the smaller recipes and have more variety with my shapes.

I use this setup since many years and turned it into a tool. It's a slope blur feed with several clouds that I squeeze , turn into alphas and blur (cheap) to create a more interesting mask input.

A Flowing Slopes tool to sculpt around volumes. It create a mask following the height map. Can come in handy to sculpt or paint following your shapes.

For the clutter layer on top of my floor I usually rely on atlasing. Through the years I created several Atlases to fill my personnal library.
